Track Wiring for Beginners: A No-Fear Visual Guide
Learn how to wire your model train layout the easy way — this beginner-friendly guide covers the basics with clarity and confidence.
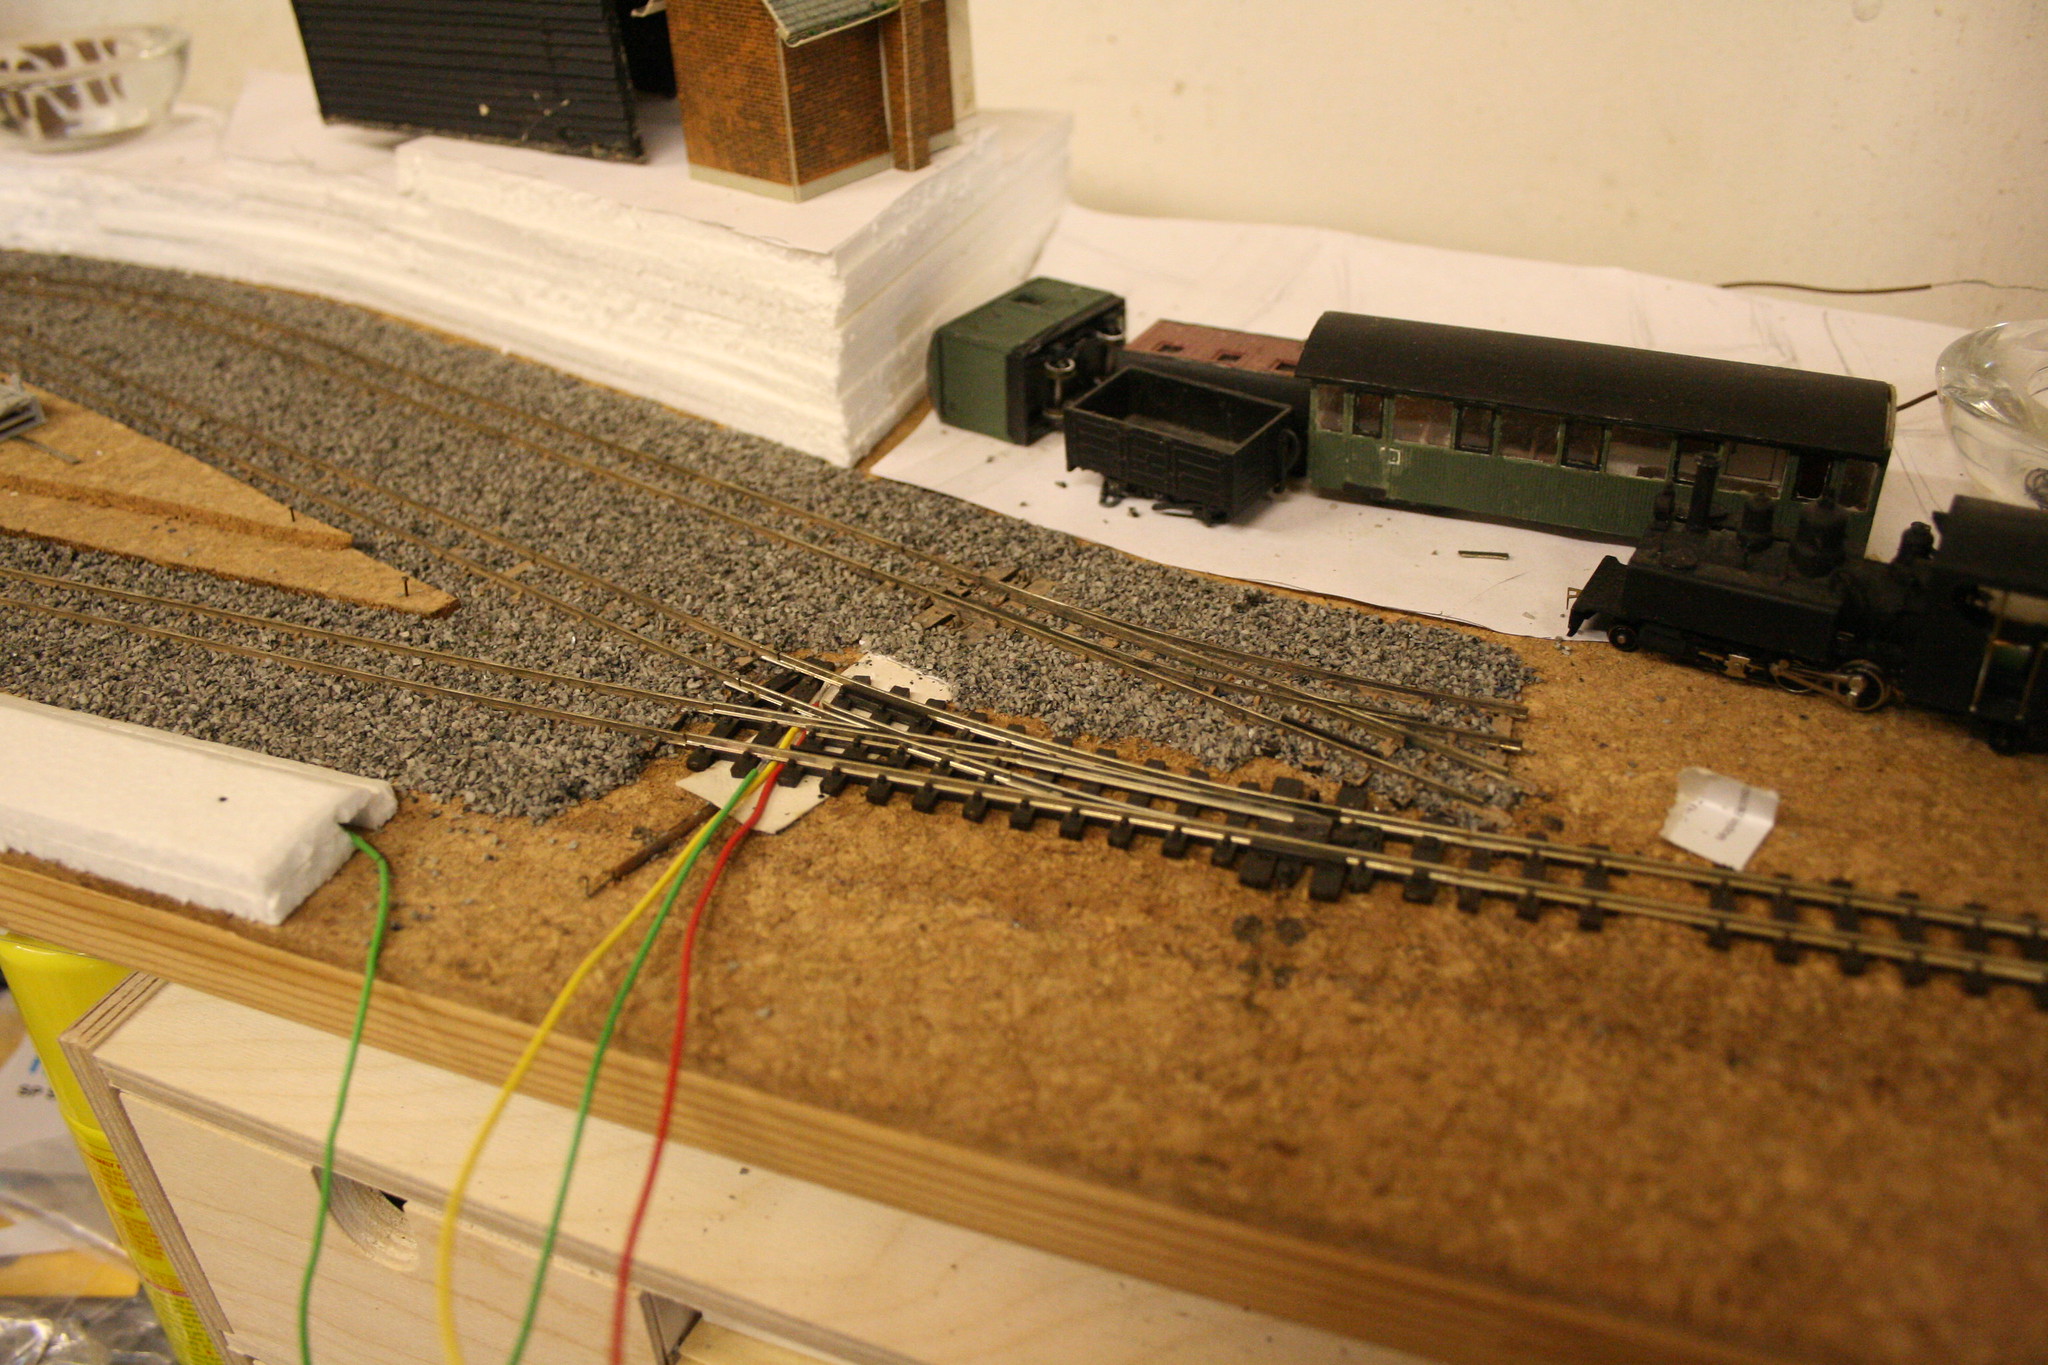
If you’ve been putting off wiring your layout because it seems confusing or intimidating, you’re not alone. Many returning hobbyists and first-timers feel overwhelmed by terms like “feeder wires,” “block sections,” or “short circuits.” But here’s the good news: basic track wiring doesn’t have to be complicated.
In this visual guide, we’ll walk you through the essentials — no electrical background required. Whether you’re building a compact DC layout or planning for DCC control down the line, this guide will give you the confidence to power your trains safely and reliably.
What Is Track Wiring, and Why Does It Matter?
At its simplest, track wiring refers to how electricity flows from your power pack (or DCC controller) into your model train layout. Without proper wiring, your locomotives won’t run, or they may run inconsistently, stall, or short out.
Think of your layout like a city and electricity like traffic. The goal is to route that traffic efficiently and safely to every corner of the city.
Wiring is especially critical for:
- Ensuring consistent power delivery (no dead spots)
- Preventing short circuits and damage
- Enabling advanced features like DCC sound, lighting, and multiple train operation
DC vs DCC: Know Your Power Source
Before you run any wires, you need to decide how you’re powering your layout:
DC (Direct Current)
DC uses a power pack to send variable voltage through the rails. One train per loop is standard — controlling speed and direction through the knob on the pack.
Pros:
- Simple to set up
- Inexpensive
- Great for small, beginner layouts
Cons:
- Only one train per block unless using complex isolation wiring
- No built-in lighting or sound control
DCC (Digital Command Control)
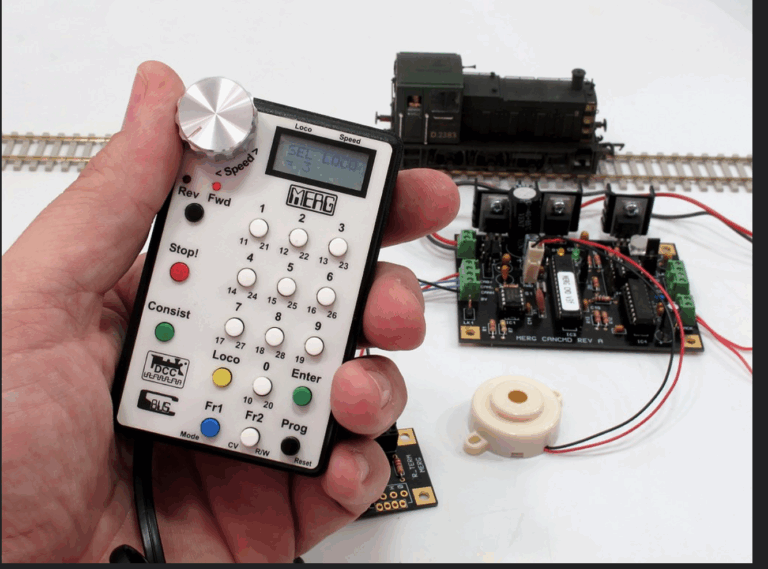
DCC sends constant voltage through the track and uses digital signals to communicate with decoders installed in each locomotive. It’s more flexible and modern.
Pros:
- Multiple trains on one track
- Independent speed, lighting, and sound control
- Easier expansion for advanced layouts
Cons:
- More expensive upfront
- Slight learning curve
For a full walkthrough, see How DCC Controllers Work — Explained Simply
Key Components of a Wired Layout
Let’s break down the essential wiring elements. Each of these plays a key role in powering your track reliably.
Feeder Wires
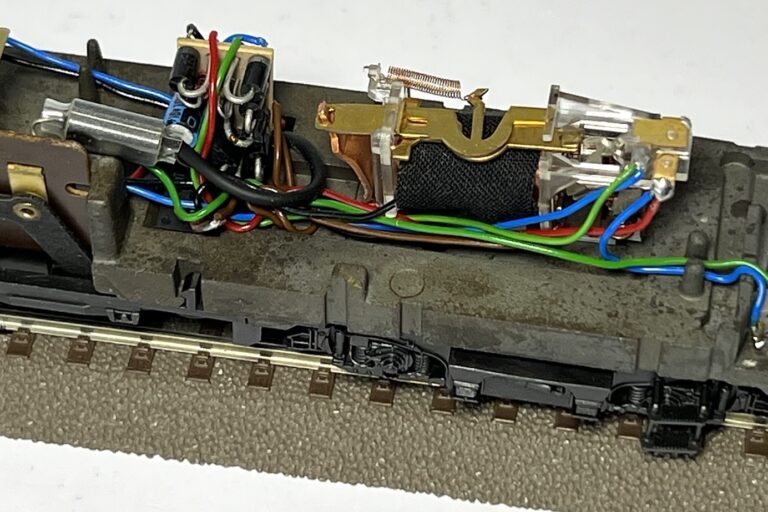
These are short lengths of wire soldered or clipped to the track, which connect to your main power bus. Without them, you may notice dead spots or inconsistent performance, especially on larger layouts.
Checklist:
- Use 20–22 AWG wire for feeders
- Connect every 3 to 6 feet of track
- Label each one to keep track of polarity
Bus Wires
The power bus is like a highway — it runs underneath your layout and distributes power to each feeder wire.
Checklist:
- Use 14–16 AWG wire for the bus
- Twist wires together to reduce interference
- Color-code wires (e.g. red for positive, black for negative)
Terminal Rail Joiners
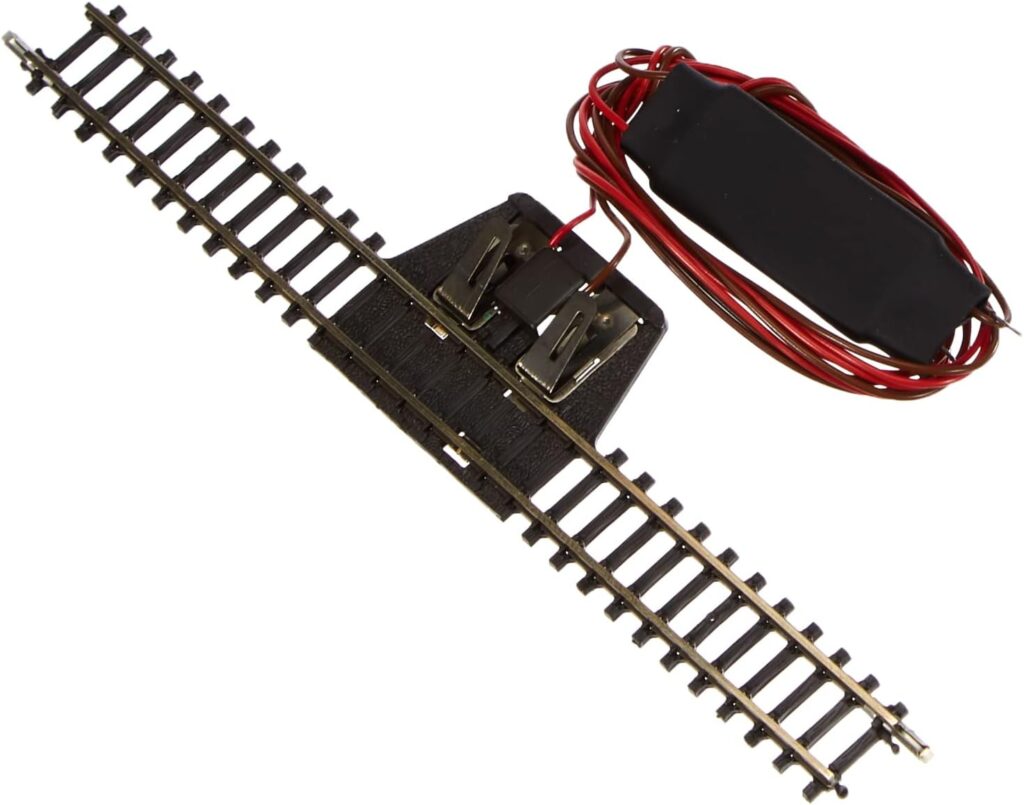
Some track brands (like Kato and Bachmann EZ-Track) offer terminal joiners or special track pieces with built-in wire leads. These are great for small layouts or temporary setups.
How to Wire a Simple Oval Layout (DC)
Here’s a beginner-friendly wiring diagram:
- Connect a terminal joiner or solder feeder wires to two spots on opposite sides of the loop
- Run these to the terminals on your DC power pack
- Turn the knob — your train should move
- Check for polarity issues: if the train jerks or stops at certain spots, flip the wires and try again
Troubleshooting Tips:
- Clean your track — oxidation interrupts power
- Check all rail joiners for tight contact
- Use a voltmeter to verify voltage across rails
Pro Tip: For more flexible starter track options, see Best Track Packs for Beginners: Expand Without Overcomplicating
How to Wire a Small DCC Layout
While the wiring is physically similar to DC, the configuration is a bit different.
- Run a bus wire pair from your DCC command station
- Add feeder wires from the rails to the bus every few feet
- Make sure all feeders are connected with consistent polarity
- Install DCC decoders in your locomotives

Pro Tip: Label each feeder connection on the underside of the layout so you can debug issues later.
Common Beginner Mistakes to Avoid
Even seasoned hobbyists have made these slip-ups:
- Too few feeder wires — leads to voltage drop and stalling
- Mixing up wire polarity — causes confusing short circuits
- Skipping the bus wire on larger layouts — creates unreliable performance
- Using too-thin wire — results in overheating and inconsistent voltage
- Not planning for expansion — can box you into a corner later
Use this as your wiring “red flag” checklist before powering up.
What Is a Short Circuit — And How to Prevent It?
A short circuit happens when the positive and negative rails accidentally touch — either through a wiring error or a derailment.
Symptoms:
- Trains suddenly stop
- Power pack shuts off or resets
- You smell something hot (never good)
Prevention Tips:
- Always double-check polarity before connecting wires
- Use insulated joiners on reversing loops or block sections
- Install circuit breakers for DCC systems
If your system keeps shorting, disconnect feeder wires one at a time until the issue clears, then inspect that section.
Wiring for Block Sections
A block section is a section of track you can isolate and power separately. This is helpful for DC control of multiple trains, or for troubleshooting DCC issues.
How to create a block:
- Cut a rail gap using a Dremel or use insulated joiners
- Run separate feeders to a toggle switch or control panel
- Label each block clearly
Block control gives you better management of your layout and allows for future automation or signaling.
Visualizing It All: A Sample Wiring Plan
Here’s what a basic DCC layout with blocks and feeders might look like:
- Mainline bus wires run along the length of the benchwork
- Feeders branch out every 3–6 feet
- Each yard or siding is its own block
- Reverse loops are wired through an auto-reverser
This modular approach gives you reliability now, and flexibility for future upgrades.
Final Thoughts: Build Wiring Confidence, Not Confusion
Wiring might feel like the scariest part of model railroading, but it doesn’t have to be. Think of it as giving life to your layout — once the power flows, the whole scene comes alive.
Start small, plan your wiring like a roadmap, and don’t be afraid to experiment. You’ll be surprised how quickly your confidence grows.
Looking for more inspiration? Check out Advanced Model Train Layouts That Push the Limits of What’s Possible or revisit How Do Model Trains Work? A Simple Explanation for Beginners to reinforce the basics.
Ready to get started? Grab a soldering iron, pick up some feeder wire kits, and enjoy the ride.
